How guardrails work
Guardrails run at two positions in the agent request lifecycle:- Input guardrails validate user messages before the agent processes them. If any input guardrail fails, the request is blocked immediately and the agent never sees the message.
- Output guardrails validate agent responses before returning them to the user. They run after agent processing completes. Output guardrails add latency to the response time.
Configuration
- Config file
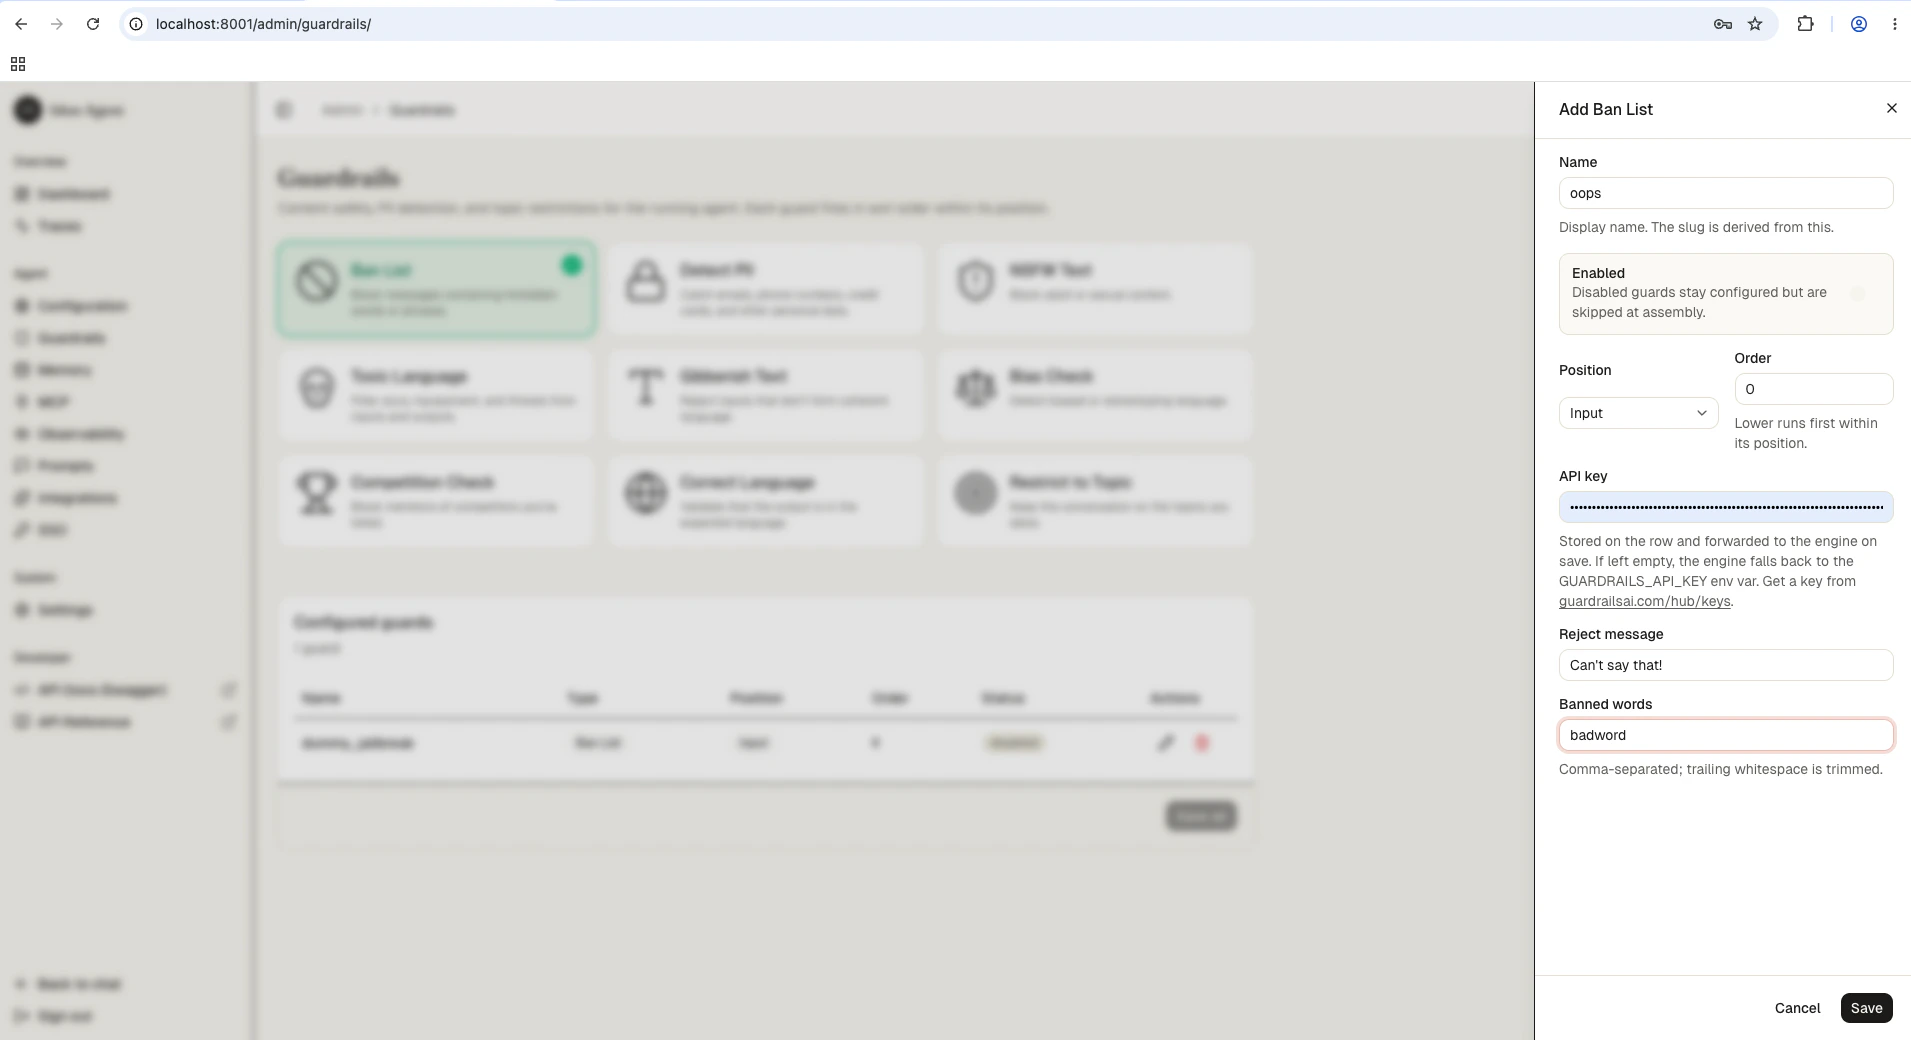
- Admin UI
Add guardrails in the Infrastructure fields (
guardrails section of your config.yaml. Each guardrail has a config_id that identifies the type and parameters specific to that type.config.yaml
api_key, guard_url, reject_message) are populated automatically. For YAML-based configs the api_key is read from the GUARDRAILS_API_KEY environment variable. You only need to specify the config_id and guard-specific parameters.
Available guardrail types
All 15 guardrail types and their key parameters:config_id | Description | Key parameters |
|---|---|---|
ban_list | Block specific words or phrases | banned_words (list of strings) |
detect_pii | Detect personally identifiable information (emails, phone numbers, addresses) | pii_entities (list of PII types) |
nsfw_text | Block sexually explicit or violent content | threshold (0.0 to 1.0) |
toxic_language | Detect toxic or offensive language | threshold (0.0 to 1.0) |
detect_jailbreak | Identify attempts to bypass safety guidelines | threshold (0.0 to 1.0) |
prompt_injection | Detect prompt injection attacks | threshold (0.0 to 1.0) |
competition_check | Block mentions of competitor names or products | competitors (list of strings) |
bias_check | Detect biased language | threshold (0.0 to 1.0) |
correct_language | Verify text is written in expected languages | expected_languages (ISO codes, e.g. ["en", "fr"]) |
restrict_to_topic | Keep conversation within defined subject areas | topics (list of allowed topics) |
gibberish_text | Filter nonsensical or incoherent output | threshold (0.0 to 1.0) |
rag_hallucination | Detect hallucinated content in RAG responses | threshold (0.0 to 1.0) |
code_scanner | Validate code blocks for allowed programming languages | allowed_languages (list of language names) |
model_armor | Google Cloud Model Armor integration | project_id, location, template_id |
custom_llm | Define custom validation rules using an LLM | model, prompt |
Adding guardrails through config file
For first-boot seeding (or engine-only mode), add guardrails directly to yourconfig.yaml:
- Input guardrails
- Output guardrails
- Both positions
config.yaml
reject_message field to customize the error message returned when the guardrail triggers:
Testing guardrails
After configuring guardrails, verify they work as expected by sending test requests through the API.guardrail field identifying which guard triggered and a detail message explaining why.
Best practices
- Layer multiple guardrails at the input position for defense in depth. Combine ban lists with PII detection and jailbreak prevention.
- Use output guardrails sparingly since they add latency. Reserve them for critical checks like hallucination detection or gibberish filtering.
- Set thresholds conservatively at first (higher values = stricter), then lower them if you see too many false positives.
- Test with realistic inputs before production. Send messages that should trigger each guardrail and verify legitimate content passes through.
Next steps
Guardrails reference
All 15 guardrail types and their configuration fields.
Observability
Monitor guardrail activity in traces.
Deployment
Deploy your agent to Cloud Run, a VM, or your laptop.